How To Make Candied Smoked Salmon
Every Fall I look forward to smoking Salmon that I've been catching in my local rivers. This season I've been experimenting with a Candied Smoke recipe and found this one to be excellent! This is a step-by-step tip on how to make delicious Candied Smoked Salmon. Enjoy!
In this walk through I'm using 3 Salmon and different species (Chinook, Chum & Sockeye) but there was plenty of room and brine more fish, this brine could accommodate 5-6 salmon. The amount of fish to use is dependent on the size of your smoker and how many fish it'll handle. I've found that a Big Chief Smoker (see details at the bottom of page) comfortably smokes 4-5 Chum Salmon (50 pounds of fish).
What you'll need to make Candied Smoked Salmon:
- 4 Salmon fillets (bones & skin removed)
- Tooth Picks
- Large plastic or glass bowl/bucket
- Smoker
- Brine ingredients (see step #1 below)
Step #1 - Prepare the Dry Brine
Combine all these ingredients below into a large plastic/glass bowl (or bucket), make sure the container is not metal. Mix for 5-10 minutes as it will take a lot of stirring before the brine turns into fluid mixture.
- 2 Cups (1/2 Liter) Maple Syrup
- 4 Cups (1 Liter) Liquid Honey
- 3/8 Cup Coarse Salt (non-iodized salt)
- 1 Kg Brown Sugar (Demerara, which is a larger sugar crystal)
- 4 Cups (1 Liter) Water

Candied Brine Ingredients

Mixing Brine Ingredients
Step #2 - Remove the Bones & Skin, Cut into Strips
After filleting the Salmon, ensure all bones including pin bones are removed. Remove the skin from the fish so you're only left with the fillets. Cut the fillet into strips that are 1/4" - 1/2" wide and 3" - 4" long. Warning! If you cut strips that are too long it'll be difficult to hang on the multiple racks. Also, make sure the width is thinner than the width of your smoke racks (as they'll be hanging between the racks).
In order to avoid meat waste make sure you have a sharp fillet knife. If you're looking for some good knives check out the fillet knife guide here: How to choose the best Fillet Knife.
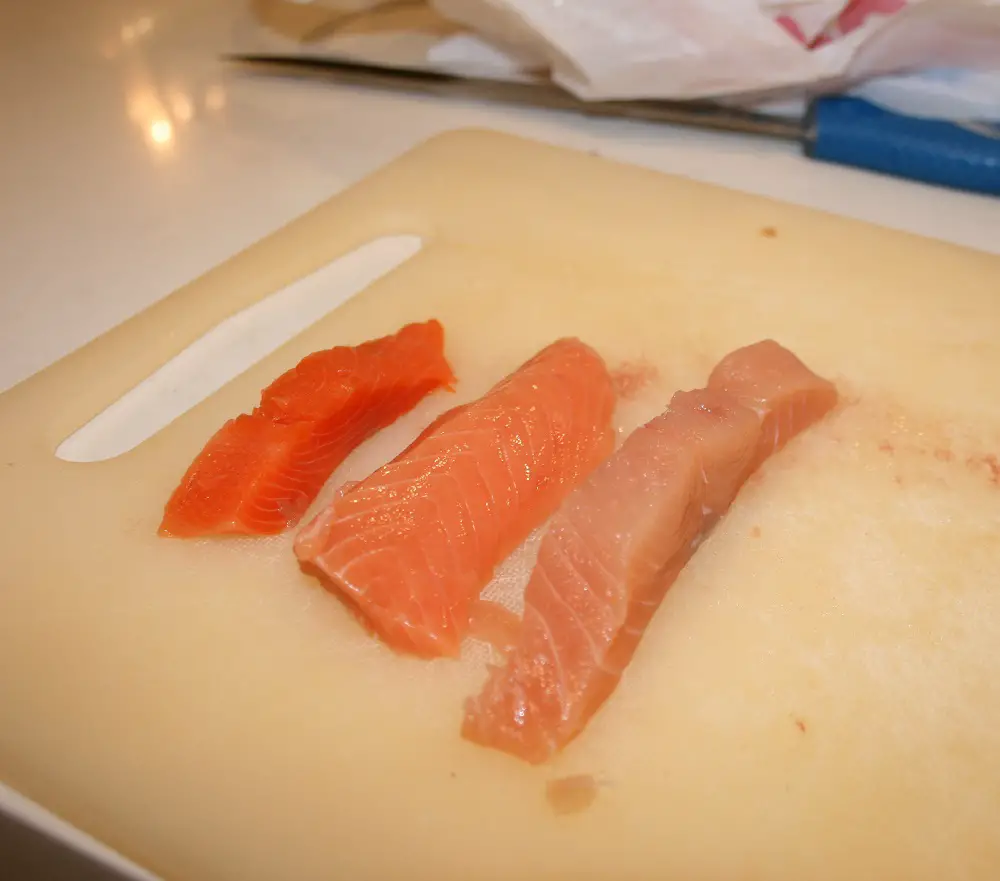
Sockeye, Chinook & Chum Salmon Strips
Step #3 - Place fish strips into the brine and quick mix
Add all your salmon strips into the brine and do a quick mix to ensure all the meat has been covered. Place bowl into the refrigerator (or semi-cool location: garage, basement, etc).

Cut Up Salmon & Brine
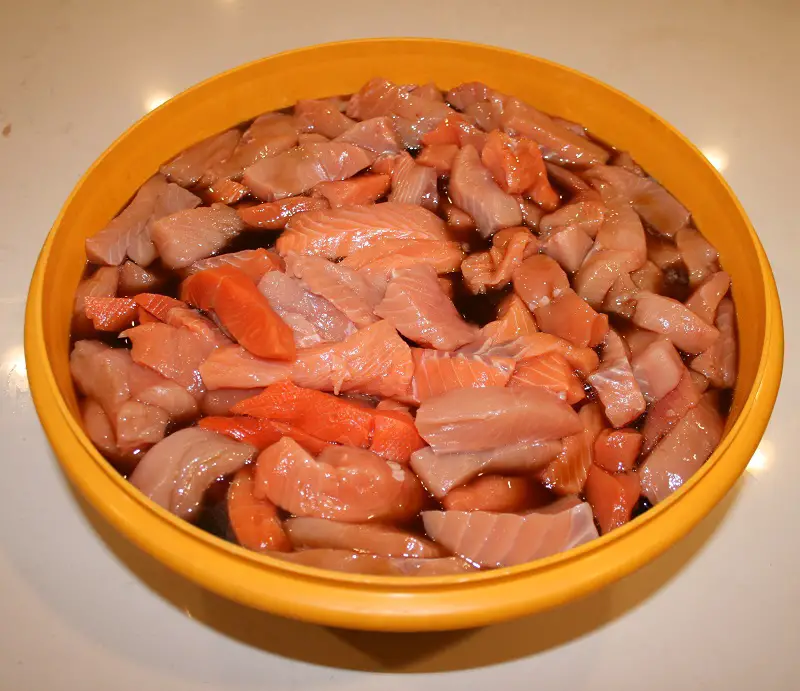
Salmon in Brine
Step #4 - Brine Salmon for 16 - 24 hours
Brine your fish for a minimum of 16 hours, during this time mix the salmon at least 3 times. The Salmon will float to the top so some of the meat will not be covered in brine, so a few mixing will ensure it's all getting coasted equally. Depending on how you schedule this process, you can leave salmon in the brine for more than 24 hours. I've left in brine for 36 hours with no issues or differences in taste.
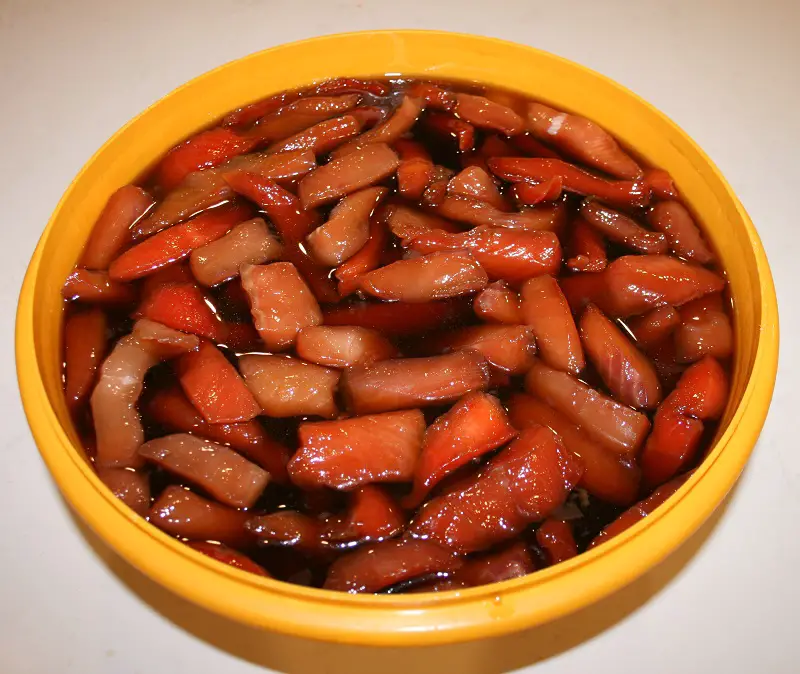
Salmon after the brine period
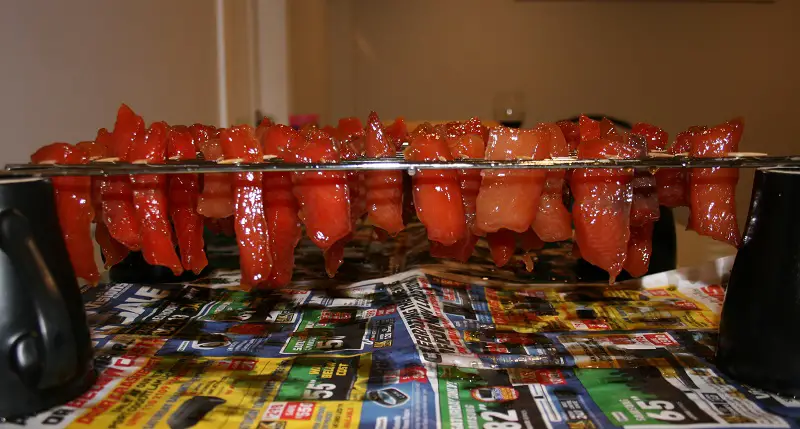
Step #5 - Prepare the drying station
This step we are preparing the racks in which the salmon will dry on. These racks should be the same ones used in the smoker. Put down newspaper on a table or counter that will collect all the excess brine. Elevate the smoker racks by using cups or mugs (or whatever you have in your house) as 4-corner posts. The racks need to be higher than the length of the salmon strips (anything higher than 5" should be fine). I hope this is common sense, but don't do the drying phase outside where animals/insects can access.
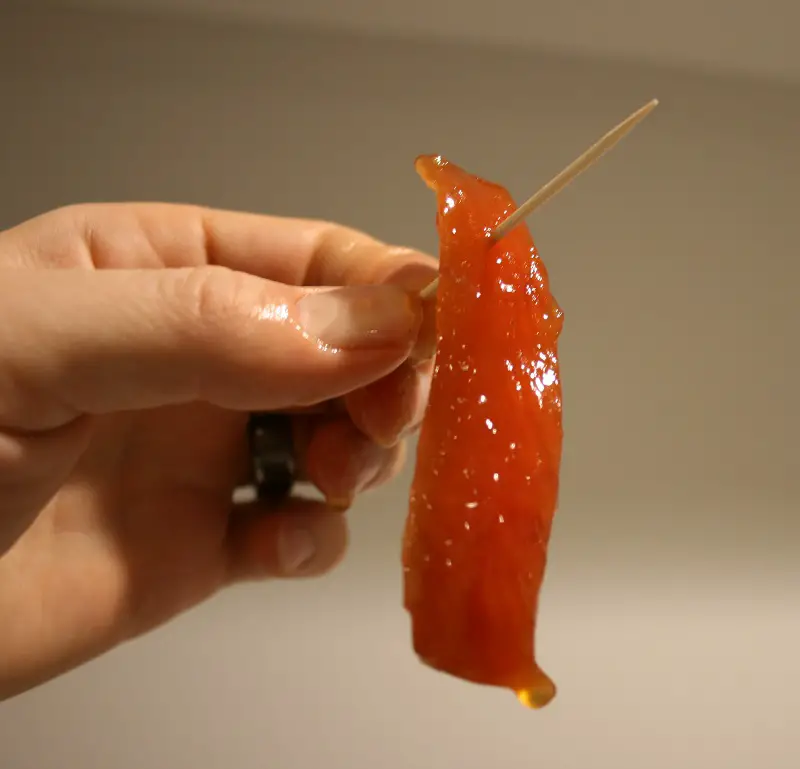
Step #6 - Toothpick the Salmon and Place on the Rack
Take each piece of salmon out of the brine (no need to rinse off the brine) and peg a toothpick approximately 1" from the top. I recommend using round stronger toothpicks vs. the flat ones as it'll be easier to remove meat after the smoking process. Place the pegged salmon strips onto the elevated racks for drying.
TIP: Ensure you leave some space on the side of the racks so they'll fit into the smoker. To clarify, inside the smoker there are arms that hold the racks in place, ensure the salmon strips are not covering that required space for the racks to sit on. Clear as mud? Good. 🙂
Toothpick Salmon Strips

Add Salmon to Racks
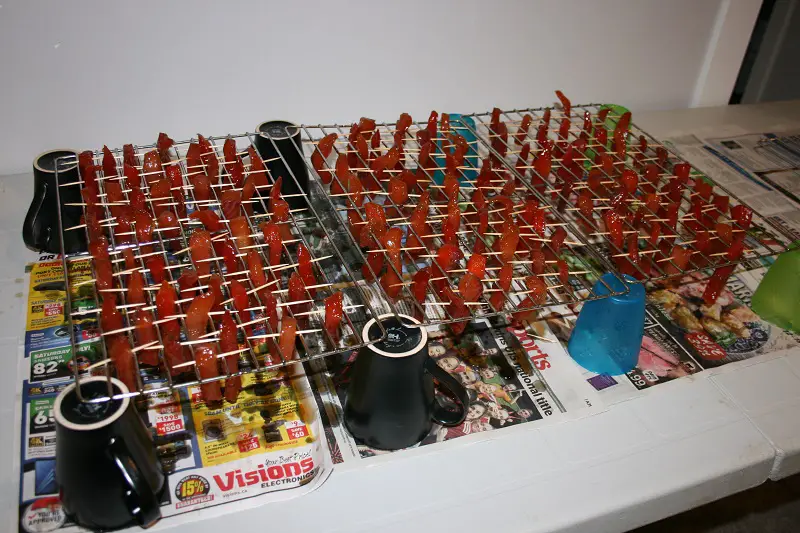
Step #7 - Dry the Salmon for 24 - 36 hours
After the pegged salmon strips are laid out on the racks let them dry for 24 - 36 hours. You do not need a fan, but I've heard some people using one to expedite the timing. This drying period is very important as a tight skin will form that helps keep the meat moist during the smoking process. At the end of this process you'll notice the meat will become more translucent.
Drying Salmon
Translucent Salmon
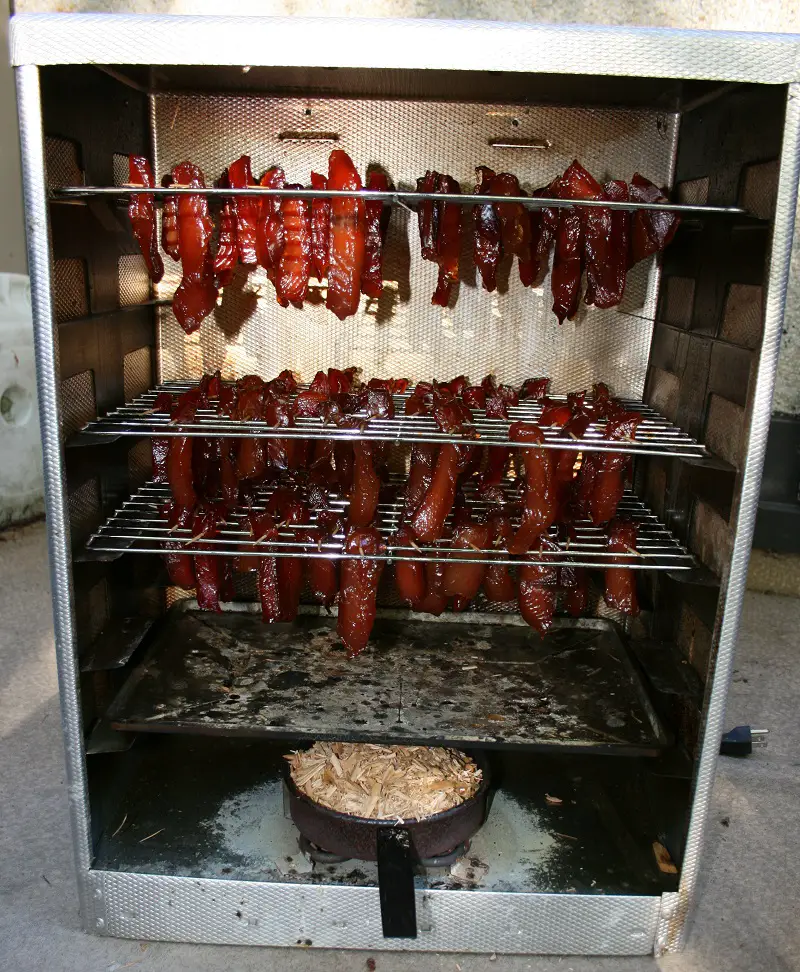
Step #8 - Smoke the Salmon for 6-7 hours
Place the racks of dried salmon on toothpicks into your smoker. You may have to shuffle some of the salmon strips around the racks to make it fit (see Tip on step 6). The entirety of the smoking process should be approximately 6-7 hours. This smoking time could be impacted by outside temperature. Meaning, if it's very cold outside you may need to smoke longer. I recommend taking out a piece at the 5 hour period for a taste test. From there you can assess how much longer the salmon should be smoked/cooked for.
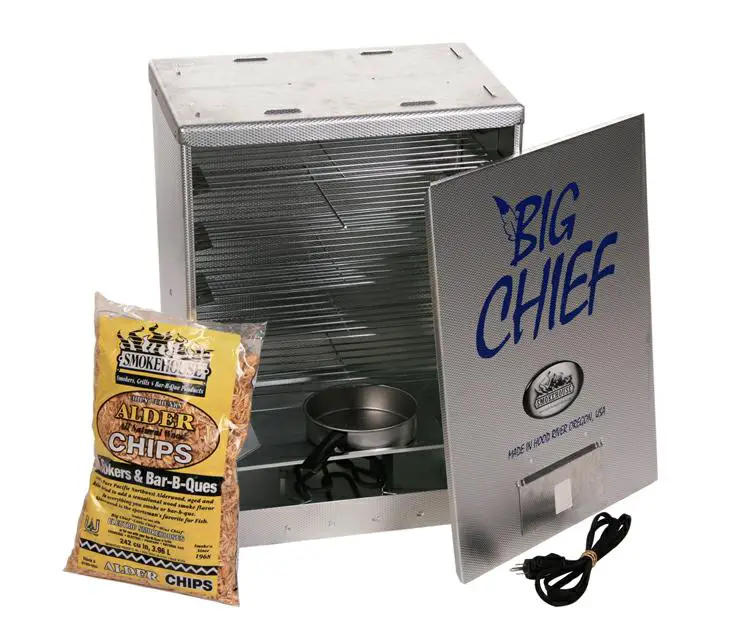
I like to add 2 pans of flavoured wood chips in my process. I wouldn't add more than 2 pans personally. My favorite wood chip flavour is Alder, but definitely experiment with other popular flavours like Cherry, Apple, etc. For my Big Chief smoker each pan of wood chips takes approximately 45 minutes to burn up. That said, if I'm doing 2 pans of wood chips, 1.5 hours there is actual smoke being applied to the Salmon and the remaining 4.5-5.5 hours is a low heat.
Smoking Salmon & Wood Chips
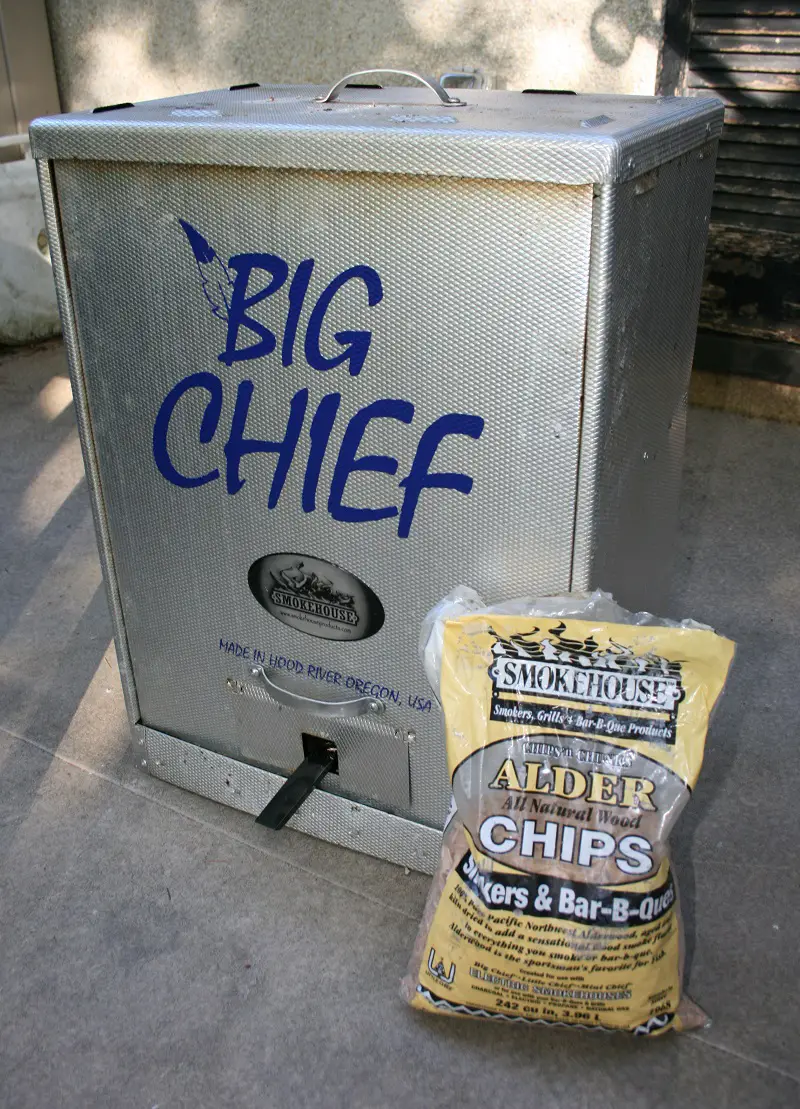
Big Chief Smoker & Alder Chips
Step #9 - Done! Remove and Bag it!
You're nearly done! After the smoking step remove the racks from the smoker and take out the salmon strips to prepare for bagging or vacuum sealing. I like to place all my salmon strips onto a cookie sheet where I then remove the toothpicks and put the candied salmon into large Ziploc bags. Great job, reward yourself with some fresh candied smoked salmon and beer.
Tip: I would highly recommend you clean your smoker racks at this point. Any brine that rubbed off/dripped onto the rack is super challenging to get off once dried on. Believe me, this will save you some serious scrubbing for next time.

Candied Smoked Salmon with Toothpicks
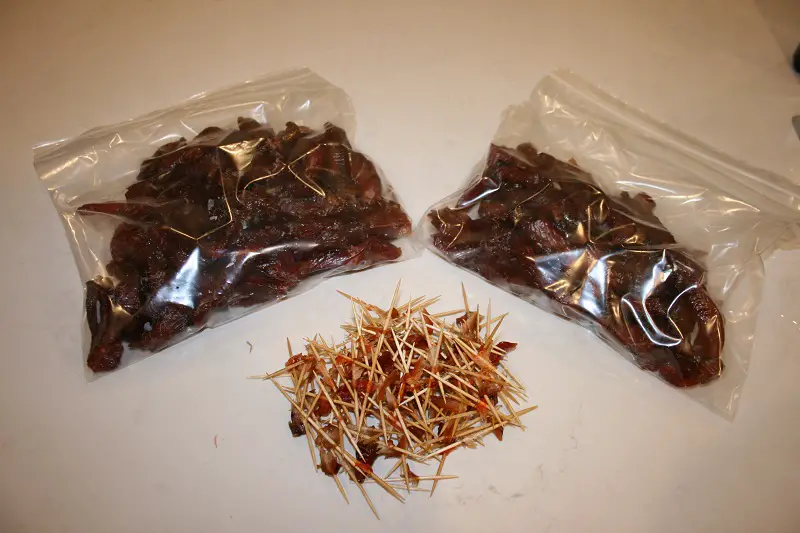
Candied Smoked Salmon without toothpicks
Best Smoker and Wood Chips Recommendations
Here is the smoker and wood chips I used in making the candied smoked salmon.
Preview
Brand
Gear
Check Best Price


Additional Tips


")


")


