How to Cure Salmon Eggs
In my opinion, cured Salmon roe is the best bait you can use for Salmon and Trout (and many other species). Chum Salmon roe is my favorite to use because of the size of the eggs and skeins. This tip page walks through the entire process I use to cure and store my Salmon eggs.
Instructional YouTube video at the bottom - The steps detailed below are included in the video at the bottom of this tip page. In the video I use 3 different cures and outline my favorites with a finished product review. I've outlined these favorite cures and scent powders just below the video.
Step-by-Step Instructions on How to Cure Salmon Eggs
Step #1
Layout Skeins on a paper towel. Also recommend putting newspaper or something else under the paper towel as blood/moisture will soak through.
Step #2
Butterfly the Skeins on a paper towel. Use scissors or knife to cut down the middle of the eggs (do NOT cut the skein side or through the skein). This opens up the skein so the cure can easily get into all the eggs. Lastly, don't worry about popping/destroying the eggs in this step, the eggs (and skein) separate quite easily with a few simple scissor clips.

Step #3
Where there is still blood in the veins of the skein use a spoon/butter knife to push the blood out. Dab it up with a paper towel. Lastly, use a paper towel to dab any blood anywhere else on the roe/skein. Repeat process for all skeins.

Step #4
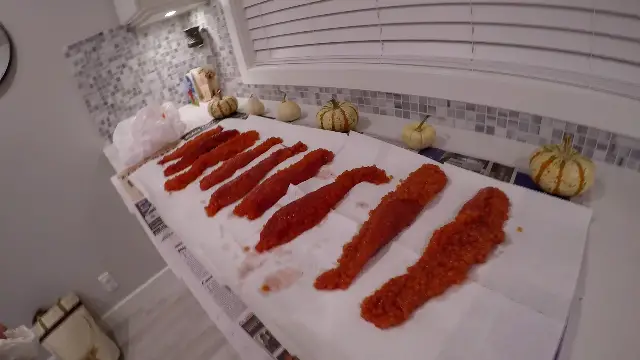
Cut the skeins into smaller pieces. Typically, I like to cut 1 skein into 3 or 4 pieces. I think smaller pieces cure better as there is more surface area for the cure to work. Also, smaller pieces provide better bait management as you can take what you need when you are ready to go fishing.

Step #5
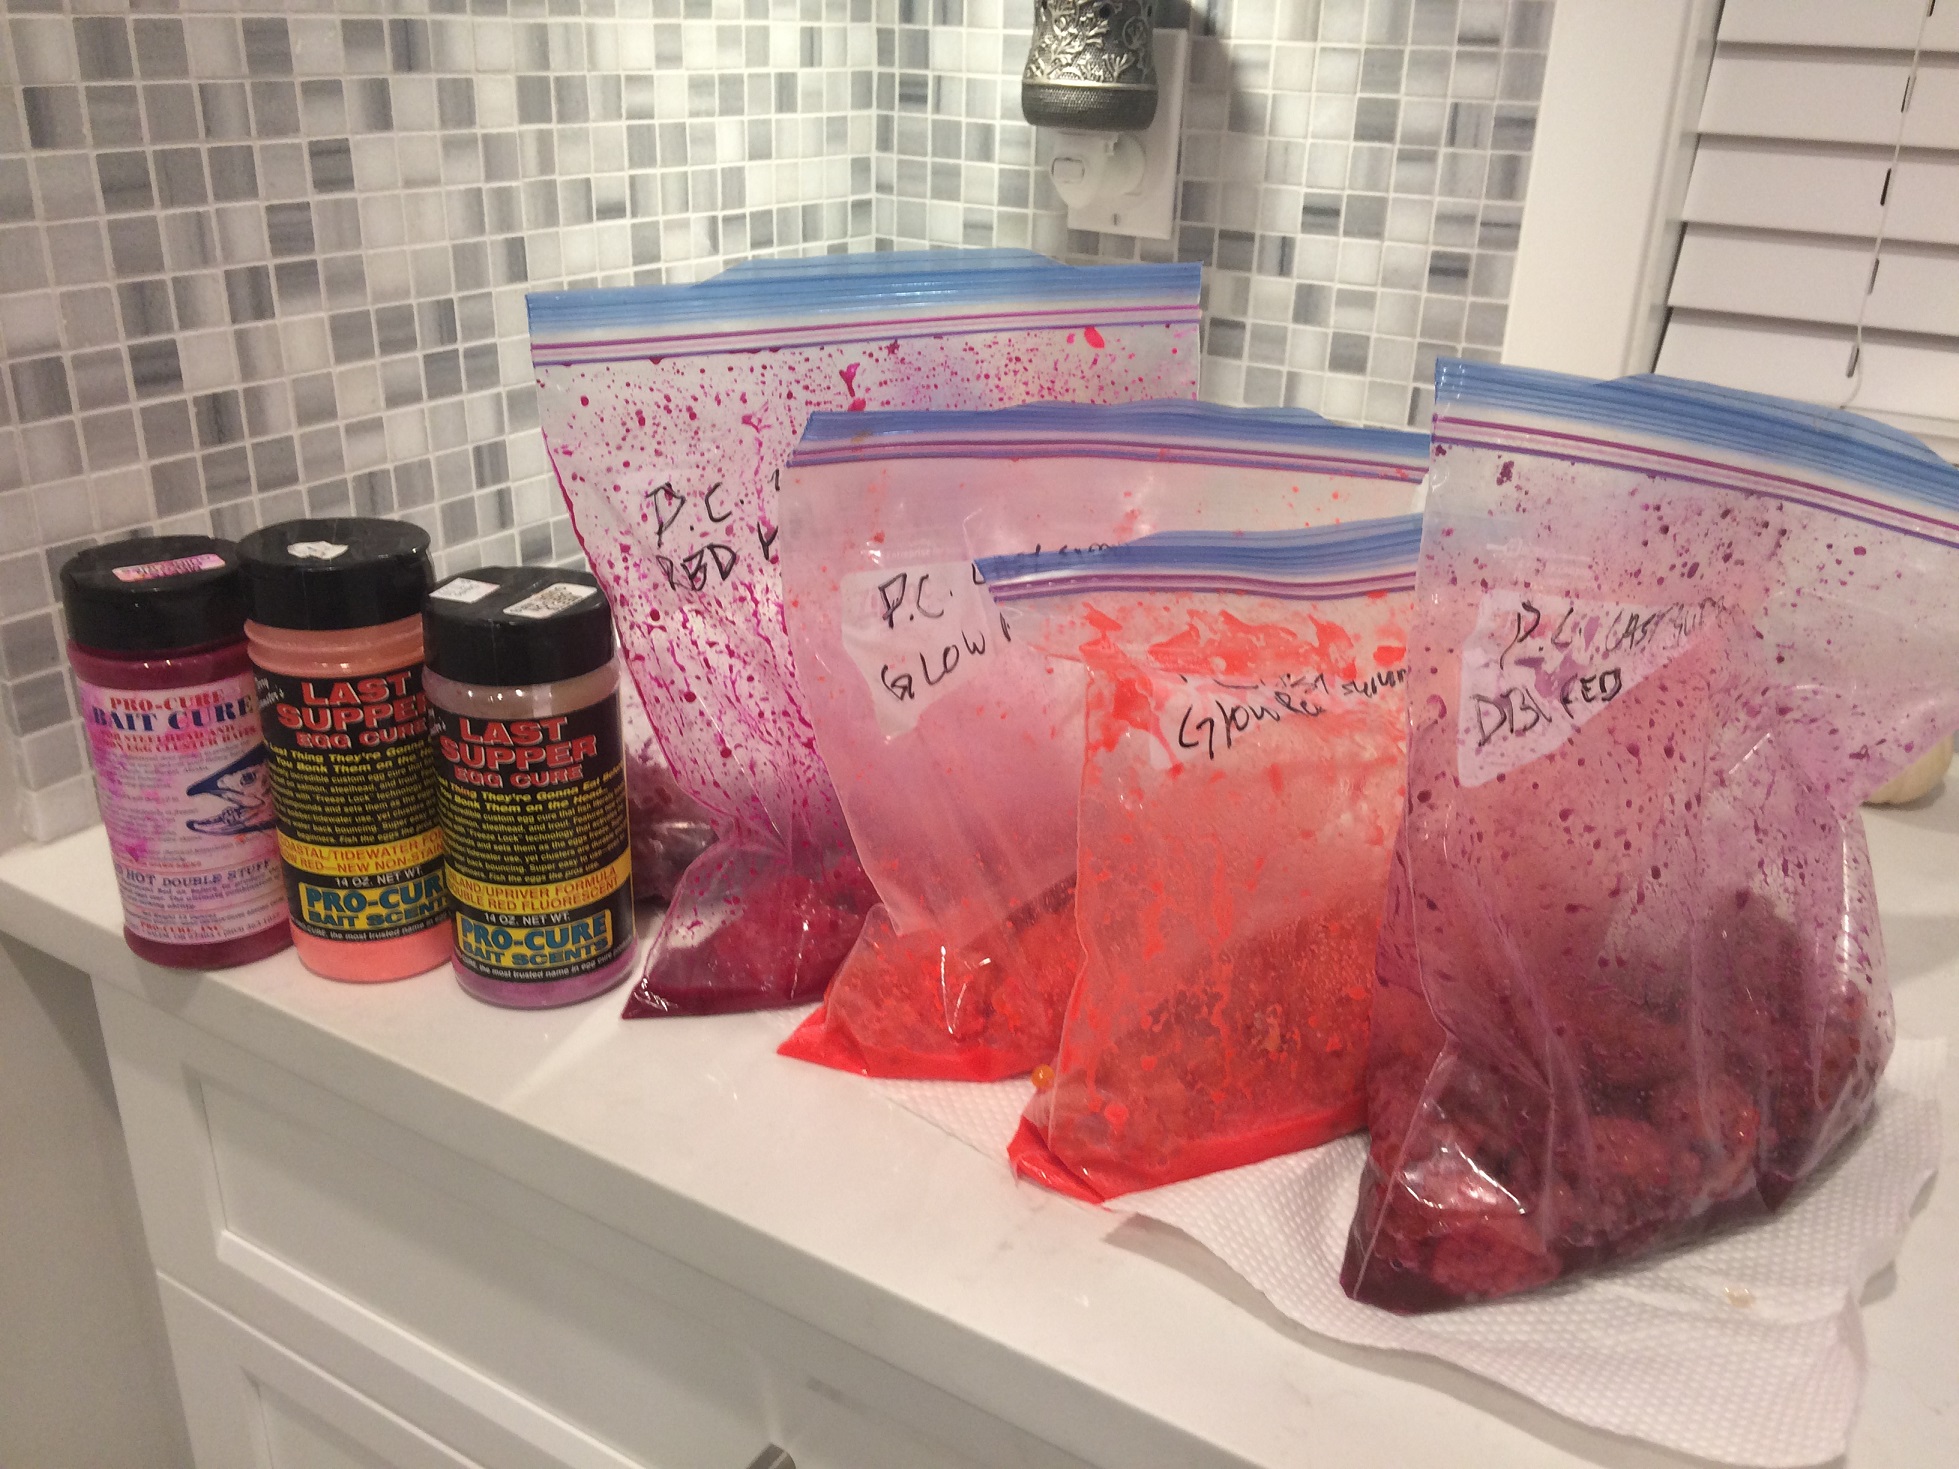
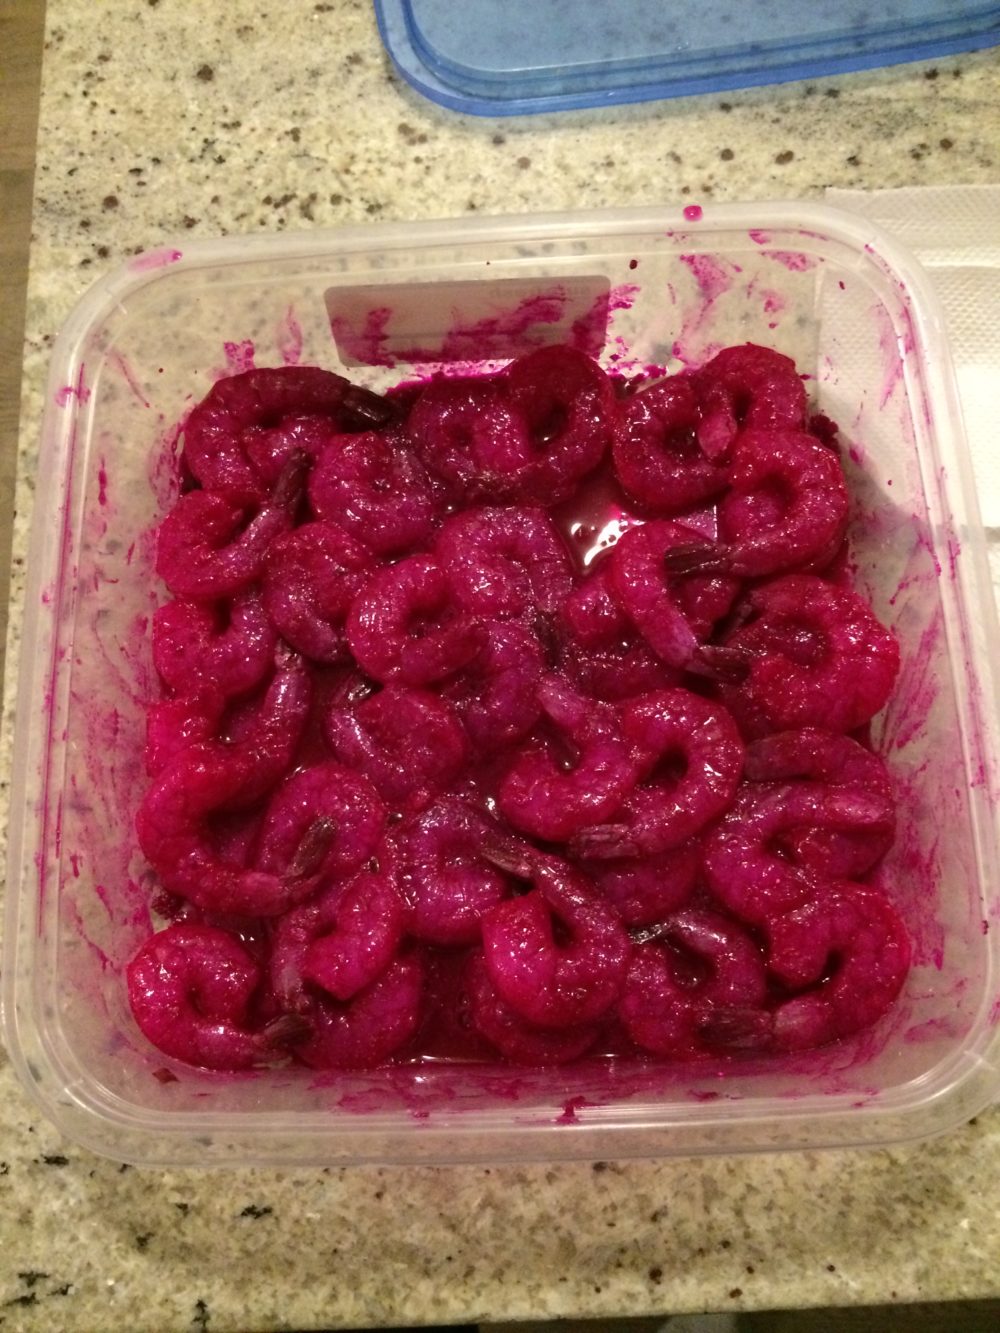
Put the small pieces into a large freezer Ziploc bag. On average I put 2 skeins per Ziploc bag, but keep in mind salmon skeins vary in size. For example, Chum vs. Pink skeins. In this video, I'm using large Chum skeins. IMPORTANT! I'd suggest using latex gloves before completing this step. A bit of a fail on my part here.

Step #6
Add your cure! Twist off the top and I recommend using anywhere from 1/3 to 1/2 of the bottle per bag. I like this amount of cure when a large freezer Ziploc bag is 1/5-1/4 full of roe.
In addition to the cure powder, a light dusting of Krill powder has worked wonders for me! I've been using the Pro-Cure Krill powder and it's definitely shown a difference.

Step #7
With some air in the Ziploc bag tumble the cure. Do this until you've ensured all the eggs are well covered. I tumble every 15-20 minutes for the first 2 hours (6-8 tumbles). After the 2 hours I put into the fridge for the night. IMPORTANT! Do NOT drain the juice.

Step #8
The entire curing process I recommend 36 to 48 hours. After the first night in the fridge, check on the eggs and you'll feel them hardening up, keep tossing them and gently massaging the eggs into the juice. You really can't tumble the eggs too much during the 48 hour period. In the last 24 hours of curing you don't have to do it as regularly as the initial 12-24 hour period. In this last period I'd recommend tumbling them at least 5-6 times.

Step #9
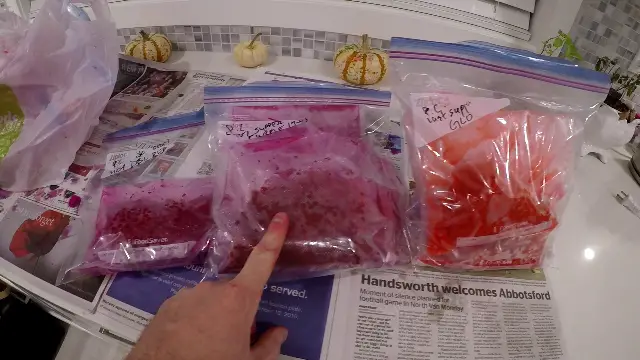
Use a Sharpie to write the cure name & recipe on the bags. It's good to keep track of the cure name and recipe you use, especially if you're adding Krill powder or other ingredients that eventually work out great on the river.

Step #10 - Freezing the Eggs
After the 36-48 hour period and the eggs are cured, you'll need to determine if you should freeze them. If you're not using the eggs in the next week, you should freeze them. Be sure to freeze the eggs into bag sizes that would accommodate a fishing trip. That way you don't have to thaw the entire batch, but only what you need.
There are a number of options in how to preserve your eggs:
- Store in a Jar
- Vacuum Seal
- Freezer Ziploc bags
Important: If you're looking for long term storage I'd recommend the Jar storage with a little Borax sprinkled in. If you're looking to use the eggs in a few months period, I'd recommend a vacuum seal (see below) or if you're going to use them in a less than a month you could use freezer Ziploc bags.

Step #10b - Vacuum Sealing option
In the video I decided to freeze my eggs using my Food Saver freezer bags (vacuum sealed). This is one way to store your eggs, but is not the best way, I often like to experiment with various storage options. Most often I use Mason jars with plain old Borax for my cured egg storage.
If you do use a vacuum sealer ensure you write your cures/recipes on these new bags but this roe will be ready to fish in the upcoming months (up to a year). When ready to use, take bag(s) out of freezer and place into the the fridge the night before the fishing trip. When the morning comes they should be ready for action!
Tip 1: If you are using a vacuum sealer to store your eggs, I'd recommend straining any left over roe juice/liquid. You don't want excessively juicy roe in the sealed bags as they'll be at higher risk of freezer burn (liquid provides higher risk of air creeping in on the seal).
Tip 2: Additionally if you are using a vacuum sealer on your eggs, be sure to seal the top of the bag at least 2 times. This prevents any air leakage in the freezing process.

Instructional Video - How to Cure Salmon Eggs
My Favorite Cure & Powder for Curing Eggs
Pro-Cure Redd Hot Double Stuff
Original Egg Cure, 28-Ounce bottle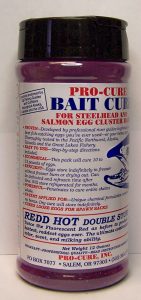
Pro-Cure Slam-Ola Powder
Krill, Regular & Garlic Scent, 4 ounce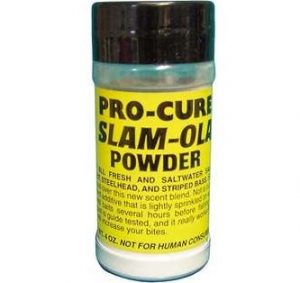
cured-roe-on-octopus-hook
Procured Prawns
3 cures

Liquid pro-cure after curing roe
Additional Tips


")


")


