How to Cure Salmon Eggs with Borax, Sugar & Salt (3-2-1 Recipes)
This is the second tip page on BC Fishing Journal in regards to curing Salmon/Steelhead eggs. I'm always trying new recipes and experimenting with the best freezing practices. The 2 cure recipes here are based off the popular egg cure called "3-2-1" but with a few extras. The ingredients for this cure could all be picked up at your local grocery store. I'm adding a few extras but this tip page should provide a base cure that you to can experiment with yourself.
Lastly, I also outline another method on how to freeze cured roe. This was not covered in my previous tip page. If you're looking for a visual breakdown you can see an instructional video at the bottom from our BC Fishing Journal YouTube channel. Check it out and be sure to give the video a thumbs up if you like the recipe. Leave a comment if you have a recipe you want to rep, or if you'd like me to try and test another recipe.
Instructions on How to Cure Salmon Eggs (3-2-1 Recipe)
The reason I love this recipe is the simplicity and memorability. The name "3-2-1" comes from the parts (amounts) of 3 different ingredients:
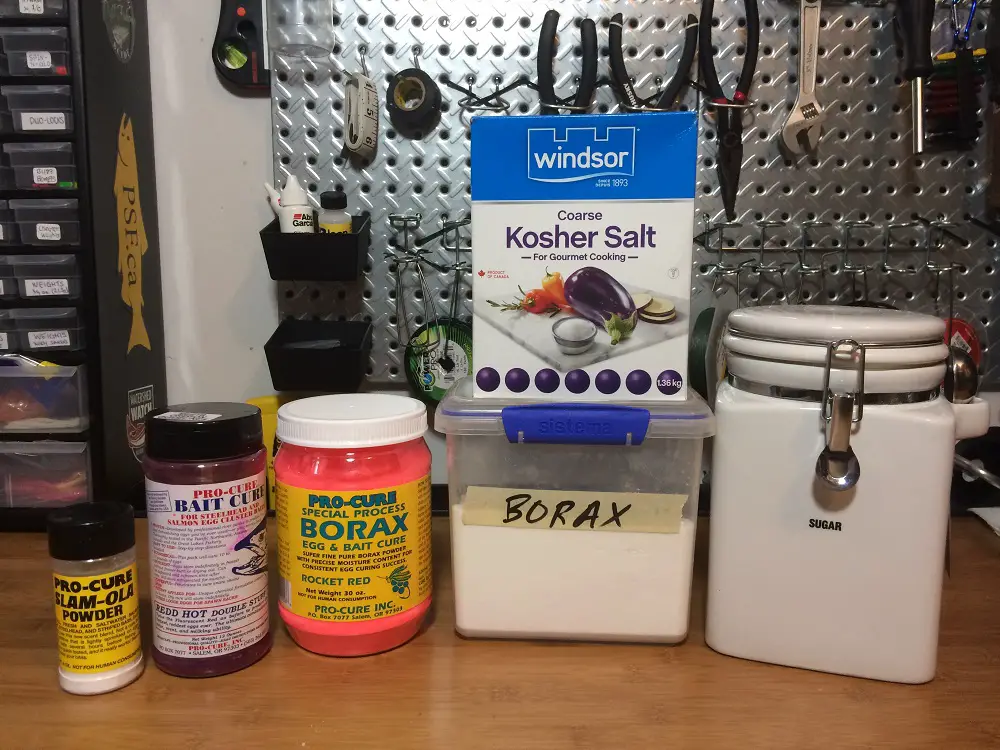
- 3 parts Borax
- 2 parts white Sugar
- 1 part Non-iodized Salt
All of these ingredients can be picked up at your local grocery store. You don't have to spend a ton of money buying expensive manufactured cures. That said, I do like to add a few extras like scents and dyes once I apply this cure. And that's what I'll be going over further in this tip.
Step #1 - Prepare the 3-2-1 Cure
Get the 3 ingredients outlined below and a large bowl. Put each of the ingredients into the large bowl and mix very well. If you're using any colored manufactured Borax, I'd recommend mixing in a well ventilated room (or open window).
3 parts Borax (either the standard Borax from the grocery store, e.g. 20 Mule Team Borax, or you can use colored Borax products, e.g. Pro-Cure Borax).
2 parts white sugar (typical white sugar from the store, e.g. granulated white or cane sugar)
1 part non-iodized salt (I like to use Kosher Salt)
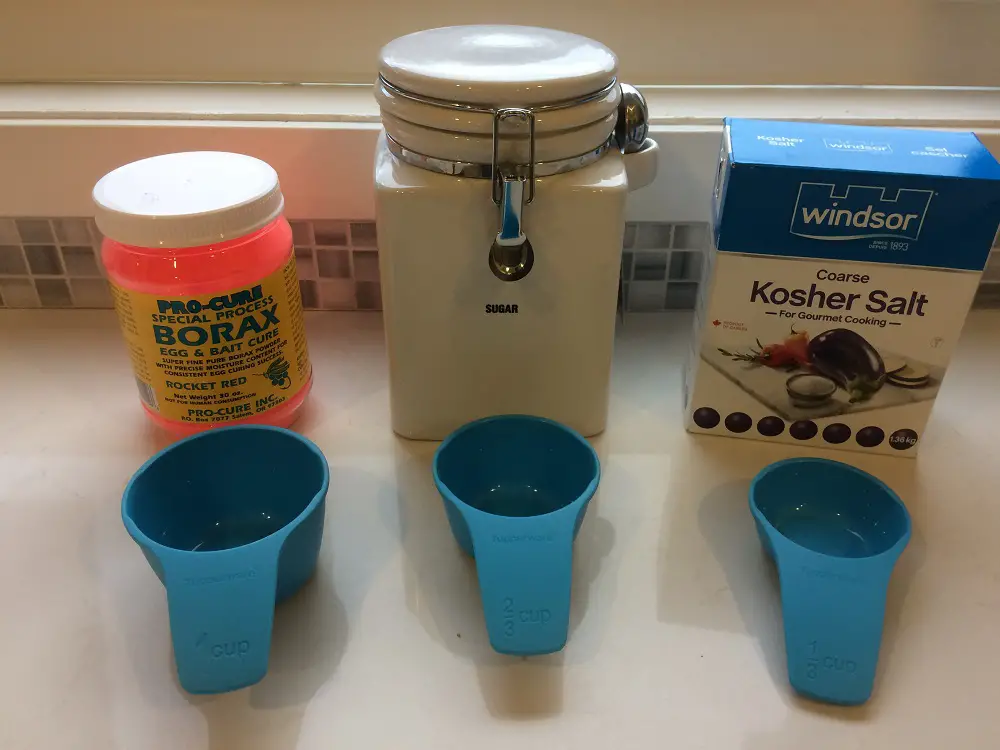
What amount do I recommend for each part?
I'd recommend preparing more cure than you'll need. It's nice to have cure on hand for when you come home with fresh roe and don't want to go purchase and prep another batch. Keep that in mind when you're determining your part amounts. For this tip (and video) I used 1 cup of Borax, 2/3 cup of white sugar and 1/3 a cup of kosher salt.
Step #2 - Prepare your skeins
Prepare a work space by laying down some newspaper followed up with some paper towel. Before handling the eggs put on latex gloves (and keep them on whenever you're handling the eggs).
Take some scissors and butterfly your skeins, then ensure there is no remaining blood in the eggs. If there is a blood still in the eggs, use a dull knife or spoon to easy pressure and guide the blood toward the ends of the skeins. You the paper towel to soak up the blood. I haven't gone into thorough detail here on this step, if you want further details on butterflying and removing blood from skeins see other salmon cure tip page.

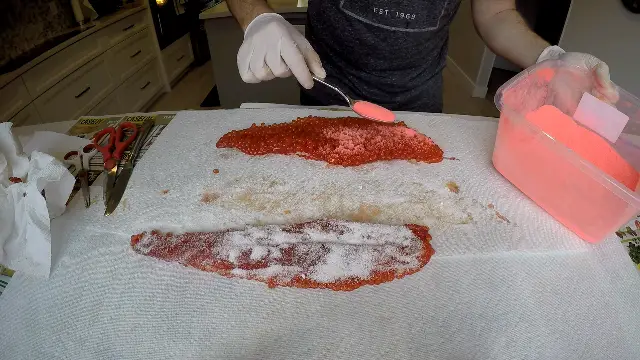
Step #3 - Apply the Cure to the Eggs
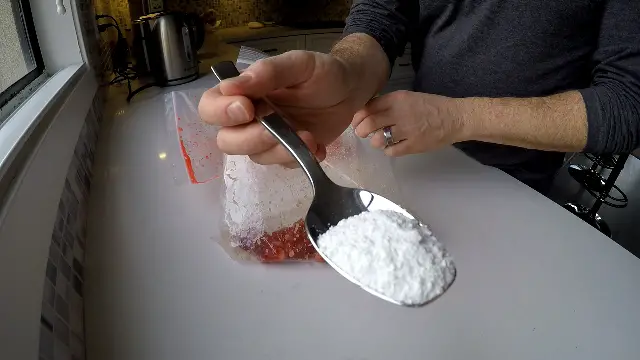
Apply a healthy dusting of the cure onto the both sides of the eggs. This amount can be subjective, but ensure the eggs are covered with the cure. We're going to add a little more cure in a later step, so don't go overboard here. Gently massage some of the cure into the eggs ensuring the cure is getting applied everywhere.
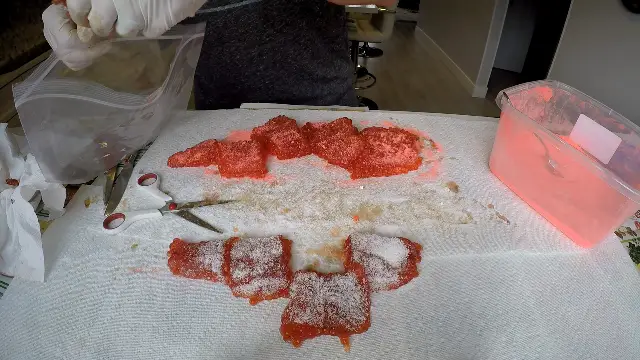
Step #4 - Cut the Skeins into Chunks
Take your scissors and cut the skeins into small chunks. I prefer larger chunks that I can cut down on the water. Typically, I like to cut the pieces into sizes that would be half a handful, aka. the size of 2 golf balls. If you're uncertain on the sizing cut larger sizes as again you can always reduce the sizes on the water as needed.
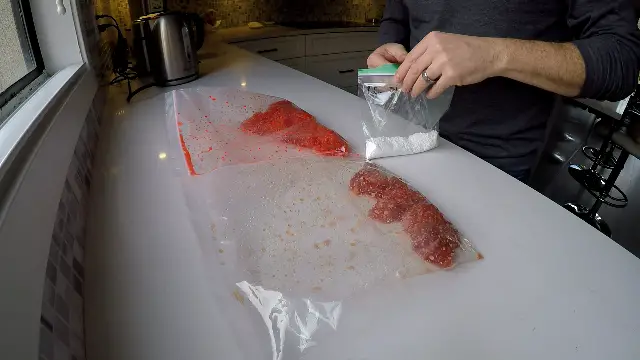
Once the skeins are cut up into smaller pieces place them into a large Ziploc bag. Because the eggs we cut up after the initial cure was added there is some surface area that is not covered by the cure. That said, I like to add a little more cure to the eggs once they're in the Ziploc bag and give gently tumble the bag ensuring the extra cure is getting into all the eggs.
Step #5 - Initial Curing Process 24 hours in the Refrigerator
Place the Ziploc bag into the fridge for 24 hours. Over the course of this 24 hours I'd recommend gently tumbling the eggs whenever you remember to (but try to do this at least 2 or 3 times). Do not drain any of the juice that may form in the bottom of the bag.
This initial 24 hours is where the majority of the curing process occurs.
Step #6 - Later Curing Process 48-72 hours in the Refrigerator
After the initial 24 hours in the refrigerator you can begin to add any scents or color to the cure.
Scents to add
There are so many scents available, popular ones like Shrimp, Krill, Garlic, Anise, Salmon Eggs, Tuna, etc. One of my go-to scents that I like to add to any egg cure is Pro-Cure's Slam-Ola Powder and/or a few drops of pure Anise oil. You don't have to add only one scent, it's common for guys to add several scents to their cures. Scents come in a few ways the most popular being a powder, liquid or oil format.
Color to add
If you're using standard white borax in this 3-2-1 recipe, you may want to add some color to your eggs (or perhaps not leaving them in their more natural orange coloring). An easy way to add color is to pick up Kool-aid juice powder from your grocery store and toss a little of that into the eggs. You can experiment with colors, but if you're trying for the first time go with Cherry flavor (dark red coloring). Gently mix the Kool-aid powder onto the eggs until all the eggs begin to take on that Kool-aid color.
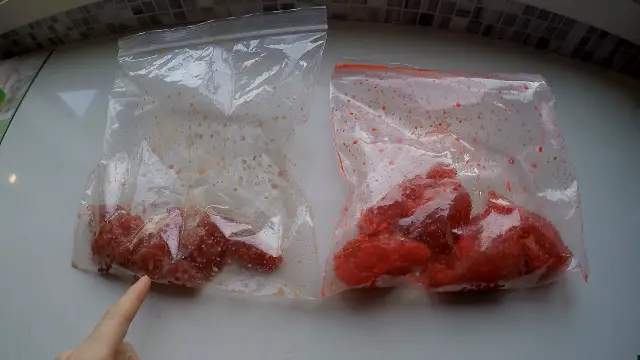
There are commercial powder dyes you can purchase from a number of companies but I'm not going into those details here. You'll notice I did 2 recipes: 1 with a colored Borax and 1 with standard white Borax. With the Colored borax there is no reason (obviously) to add any further coloring.
After you've added your scents and/or color to the eggs and given them a gentle mix put them back into the fridge for another 24-48 hours. This makes the entire curing process 2-3 days.
Step #7 - Fishing or Freezing your Eggs
After the 3 days of curing in the fridge pull out the eggs they are now ready to fish! If they feel soft or soupy and your'e worried they won't stay on the hook well, coat the eggs in plain white borax then put them back into the fridge overnight before fishing. This will tighten them up for your day of fishing.
Storing your Eggs
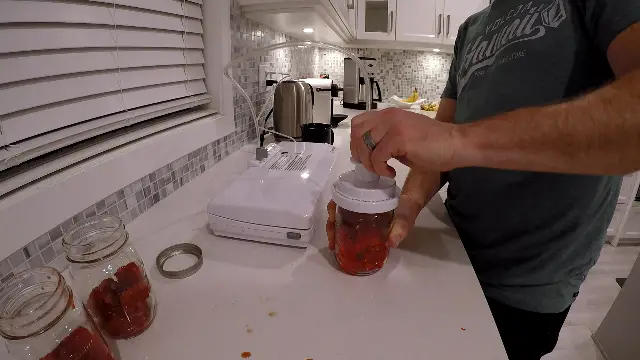
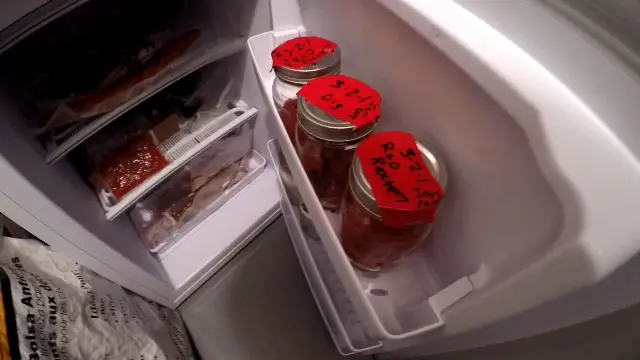
If you're looking to store the cured eggs my favorite way is by Mason jars. I fill them almost to the top where I have 1" of room between the eggs and the lid. I then use my FoodSaver Mouth Jar Sealer which is an accessory piece to the FoodSaver which essentially air seals the jar cap. Once my Mason is air sealed, I'll add a piece of tap and write the cure recipe and date. Lastly, I put the jars into the freezer and they should be good for at least 1 year.
Quick Tip!
If you have lots of excess juice (aka. liquid cure) still in the Ziploc bag after the curing process do NOT throw this out! Re-coat your eggs with this juice once they're in their jars or storage container.
If you feel like there is still too much liquid remaining, store the excess liquid cure into a jar (see next photo for example). I've used this excess liquid cure to color and cure prawns/shrimp overnight... it's deadly!

Video: 2 Versions on How to Cure Salmon Eggs with the 3-2-1 Cure Recipe
Additional Cures, Scents & Gear for Salmon Eggs
Pro-Cure Redd Hot Double Stuff
Original Egg Cure, 28-Ounce bottle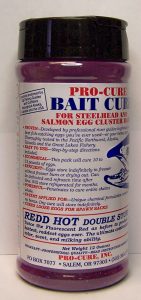
Pro-Cure Slam-Ola Powder
Krill, Regular & Garlic Scent, 4 ounce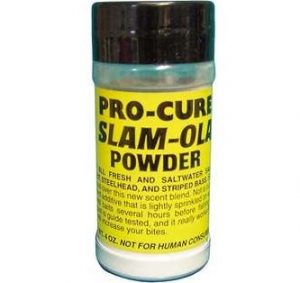
Foodsaver Vacuum Sealer
2-in-1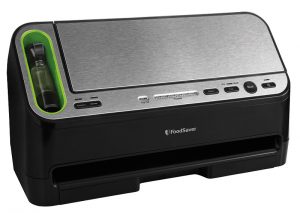
FoodSaver Jar Sealer
Regular Mason Mouth Size
Additional Tips


")


")


