How to Setup an Ice Shelter and the Piscifun Review
I wanted to write an article on setting up your ice shelter and decided to pair it with a review of my recent Piscifun -3 person ice shelter. There are a few tips in here that should be helpful to consider for those newbies to ice fishing (or first time using an ice tent). I’ll also outline some of the core components of a typical ice shelter.
Setup your Ice Shelter at home first!
If you’ve never setup an ice shelter, I highly recommend you set it up one time at home. Setting these shelters up is very easy, BUT you don’t want to be fumbling around in minus 20 and freezing wind and trying to figure it out. Take the 10-15 minutes to get better acquainted with your ice tent.
Additionally, manufacturers aren’t perfect and can make mistakes. Sometimes you might get a lemon or missed part. Setting up at home ensures you won’t find that issue when you’re out in freezing conditions. A botched ice tent can ruin a fishing day real quick.
How to setup an Ice Fishing Shelter
Most of these shelters are designed like pop-up tents. Meaning the poles are connected into the material so you don’t need to take extra time to slip the poles through, you simply pop it up. However, there can be some frustrating steps so hopefully this will be an introductory walkthrough for new tent owners. For my walkthrough example, I’m demonstrating on the Piscifun 3-4 person insulated ice shelter.
Step #1 Unpack and ensure you have all the components
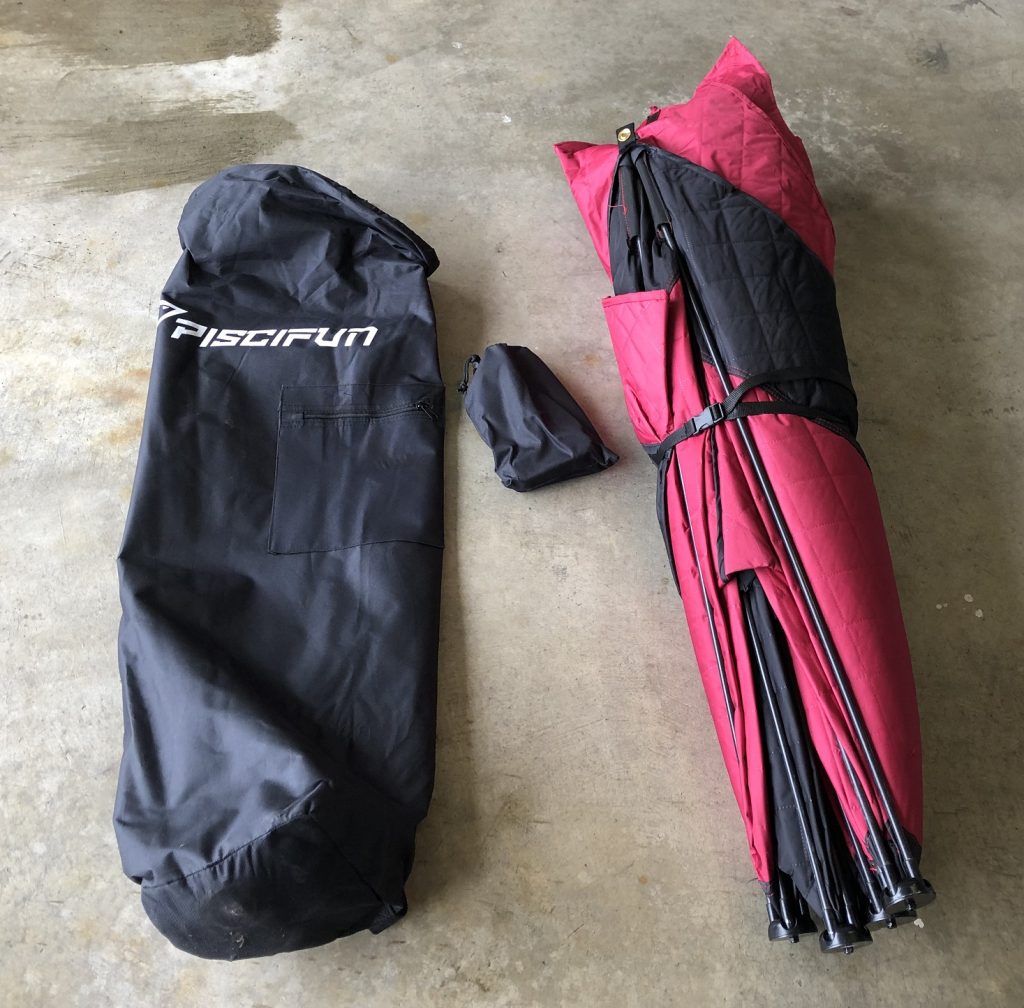
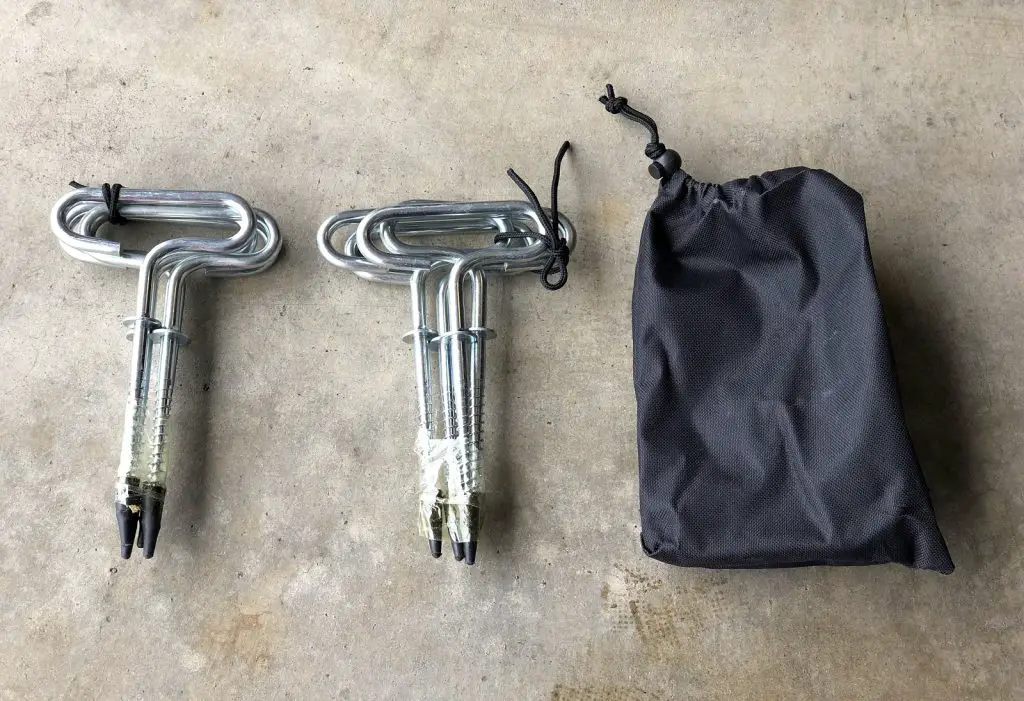
Unpack your ice shelter and make sure you have all the components (list will also be included a paper manual). These are the Ice Shelter and its carrying bag along with the ice anchors and their carrying bag. There may be tie down straps as well, but on this Piscifun model they are held within the tent pockets.
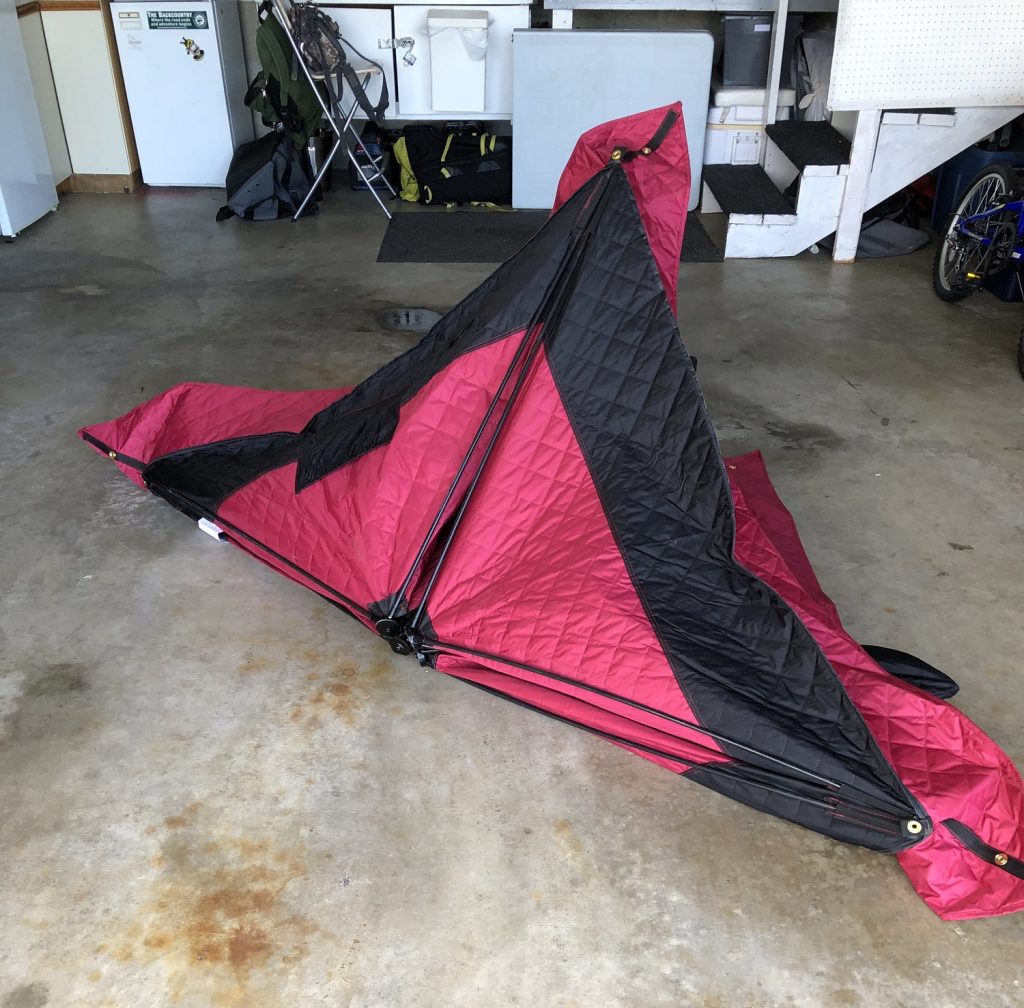
Step #2 Unfold the ice shelter
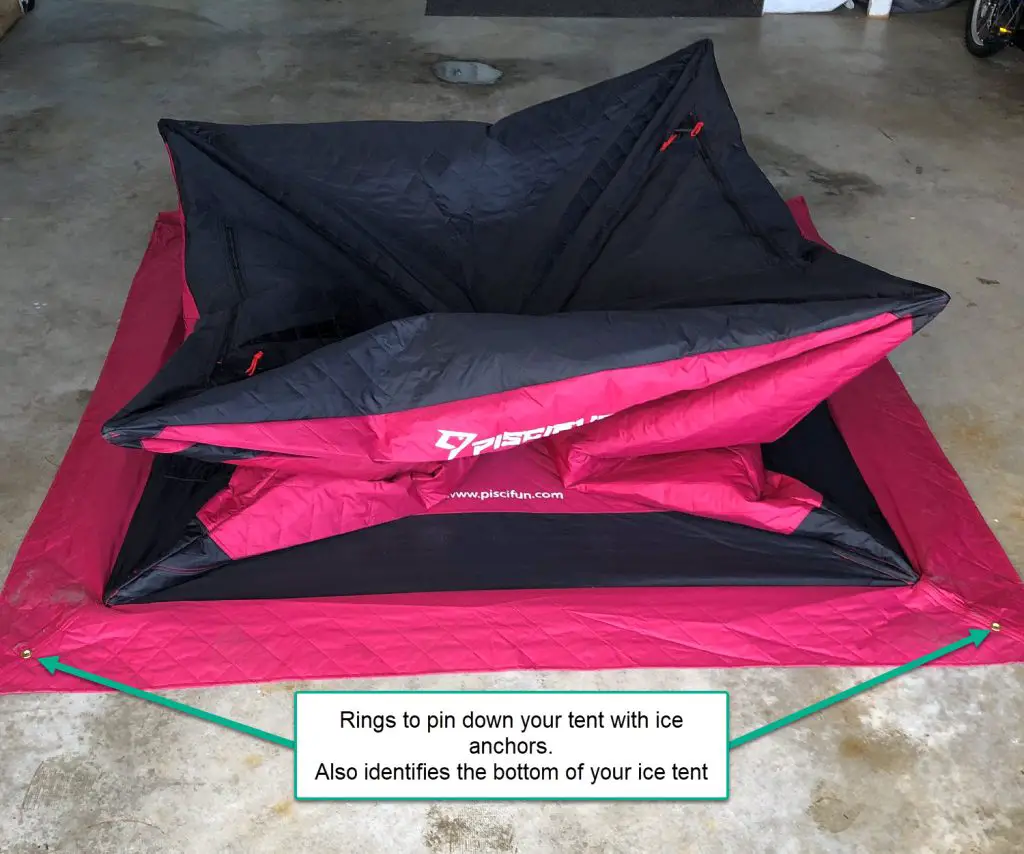
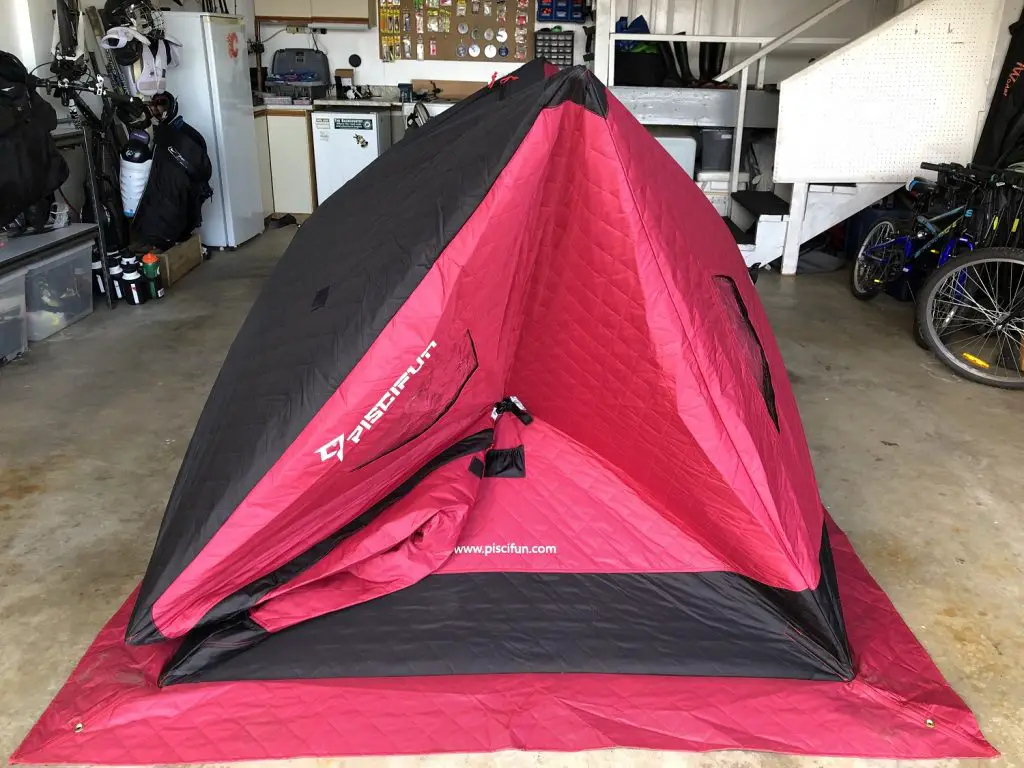
Find the bottom of the ice shelter, it will be the widest section of the tent and will have the rings on each corner to peg the tent to the ice. The tent is pegged down by ice anchors, similar to camping tent anchors but wider and look like a giant screw.
Step #3 Popping out the Roof first
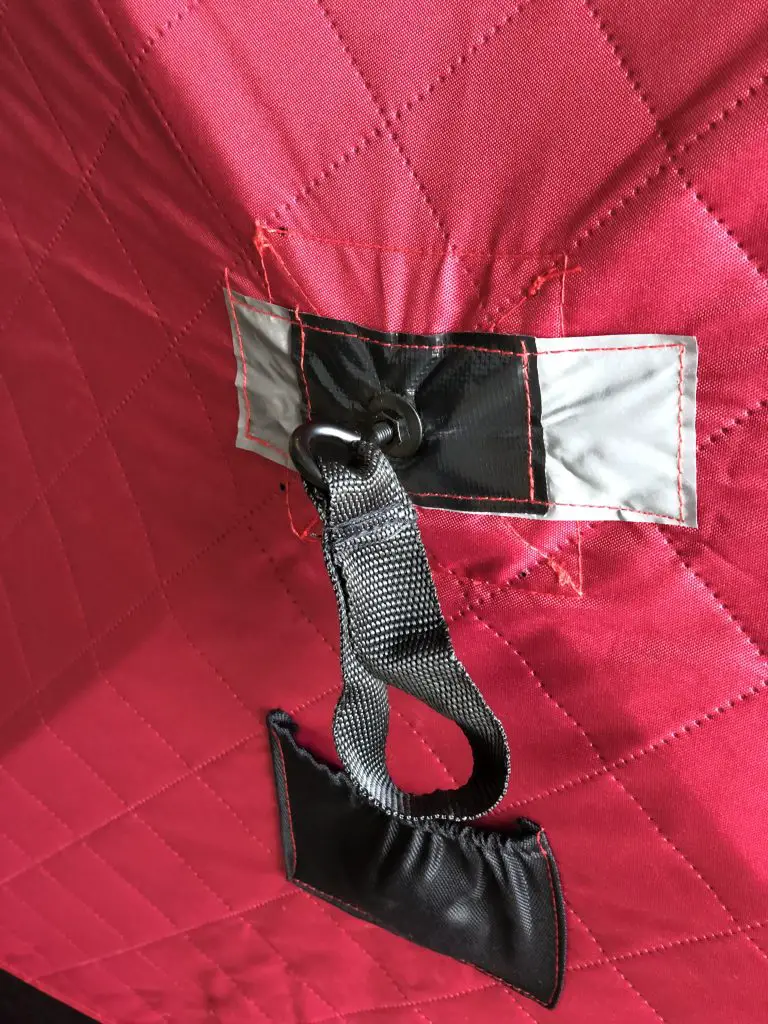
This can be the most confusing part in the entire process. You need to pop out the roof and 4 walls but not the bottom as it’s hollowed out. To pop the roof and walls out there is something called the “webbing loop” which is a black loop handle attached to a metal ring eyelet in the middle of the wall.
First identify where the heck the roof is. It’s the one with the 2 triangle windows and is all black color, the walls are all red.
Grab the handle with one hand and hold the top of the wall with your other hand, then pull. This should “pop out” the wall. If you try to pull on the webbing loop without bracing the tent with your other hand it may not easily pop out, sometimes these tents can be tougher so it’s like a pull-and-push action.
Step #4 Popping out the ice shelter walls
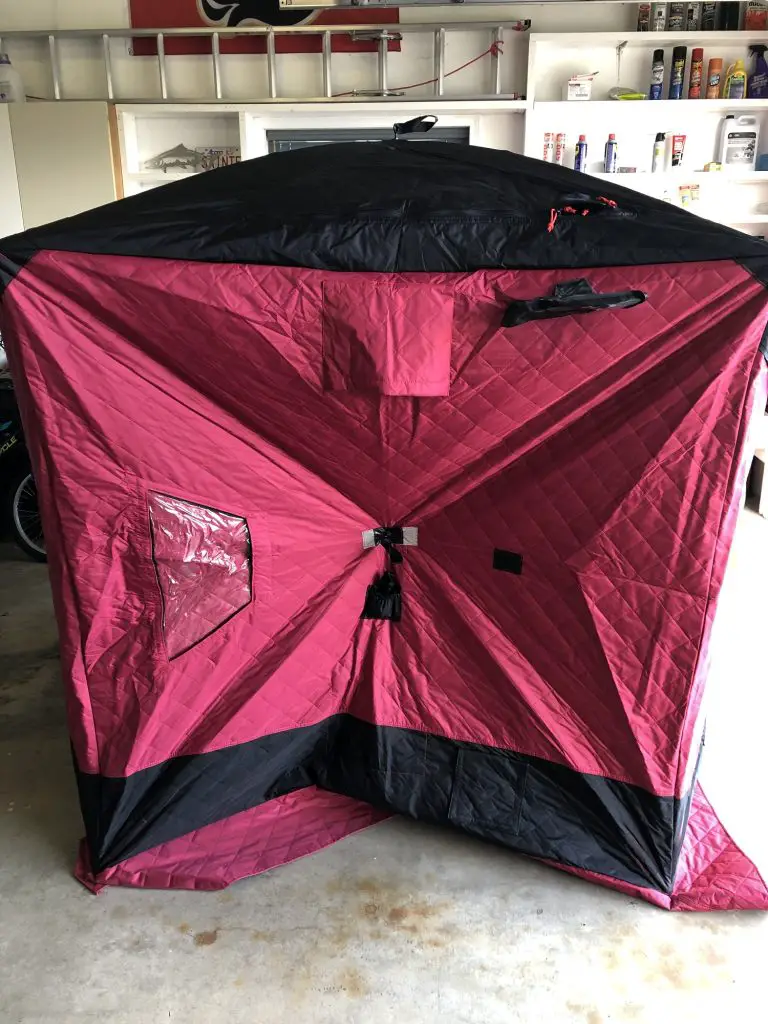
Similar to step 3, grab the loop eyelets on each red wall using the same method of pull-and-push to pop out the walls.
Step #5 Ice Achors, Straps to tie down
I guess this option could be optional when there is no wind, but typically you’re pretty exposed on the ice and wind can come up quick. That said, it’s a good practice to tie down or pin down your shelter in some shape or form.
The Piscifun shelter comes with 8 ice anchors which act like giant screws and 4 black tie down straps. 4 anchors are meant for the bottom section of the shelter in pinning through the gold metal rings. The other 4 anchors connect to the black straps that connect to the eyelets in the middle of each wall. The 4 anchors attached to the floor of the shelter will make sure shelter doesn’t blow away on you. The wall straps and anchors create more stability of the entire shelter for those really windy days.
To get the ice anchors into the ice, put the top of the anchor in your palm and use your weight to apply pressure on the top of the anchor. While applying your weight and pressure on top spin the anchor and screw it into the ice. Depending on ice conditions, you may have to work at this a few times.
Optional: Step #6 Opening vents & windows
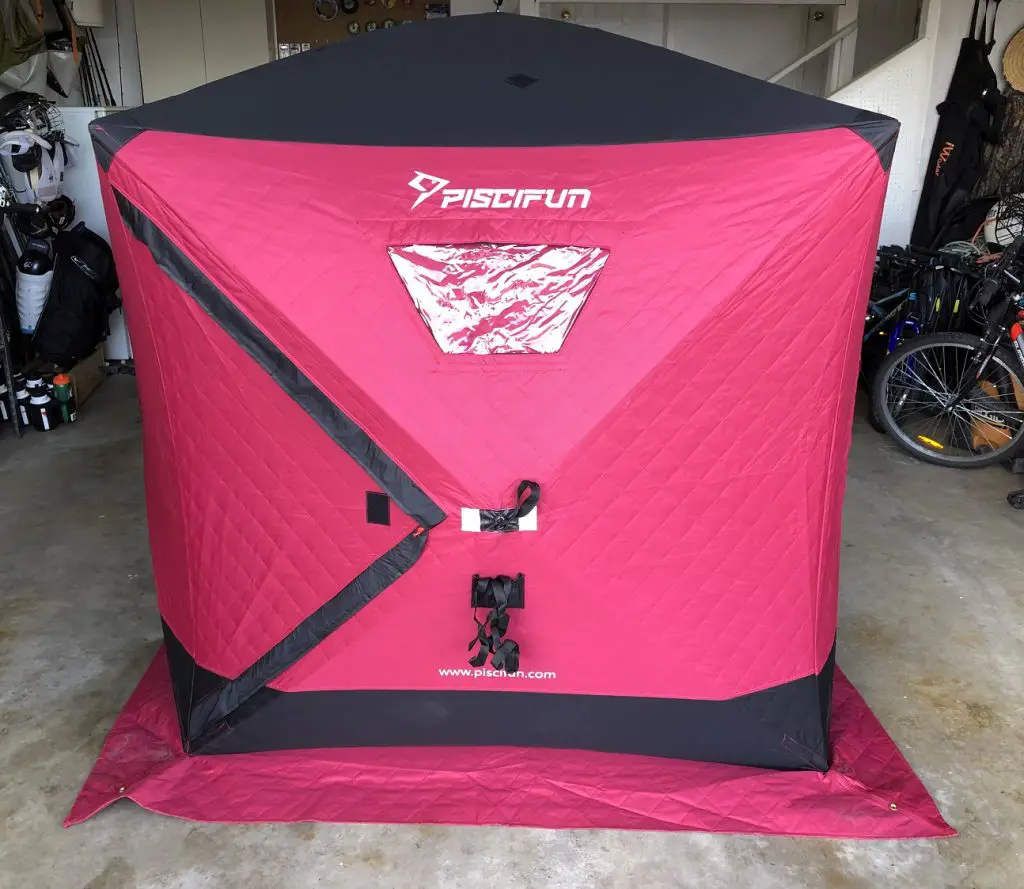
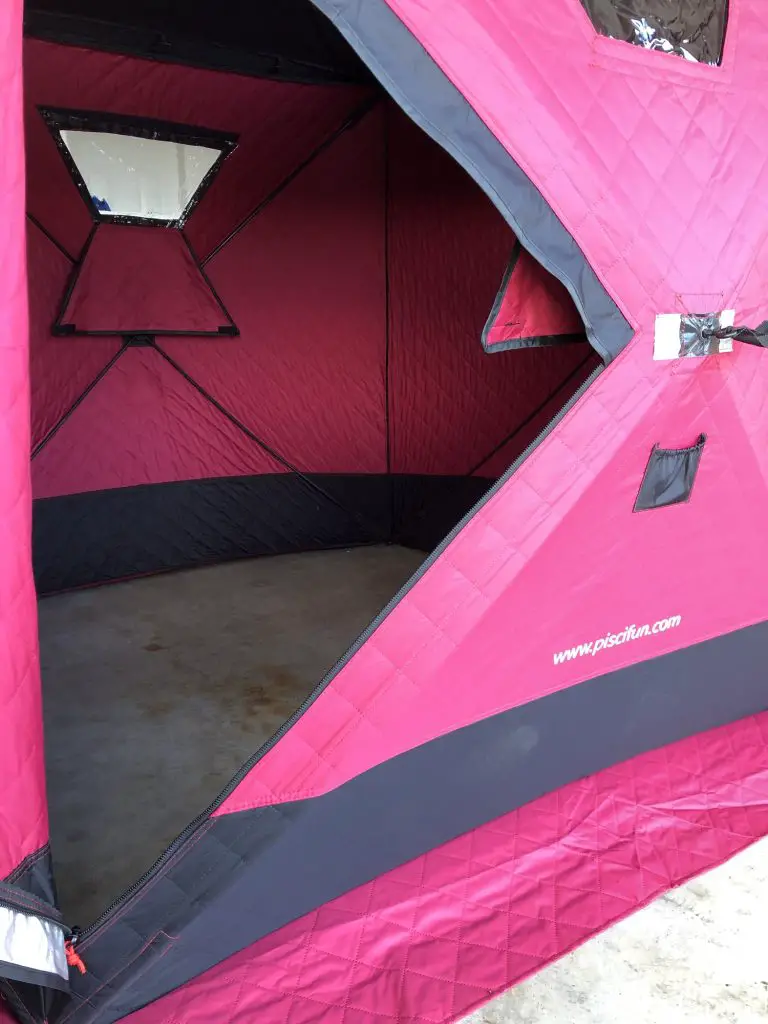
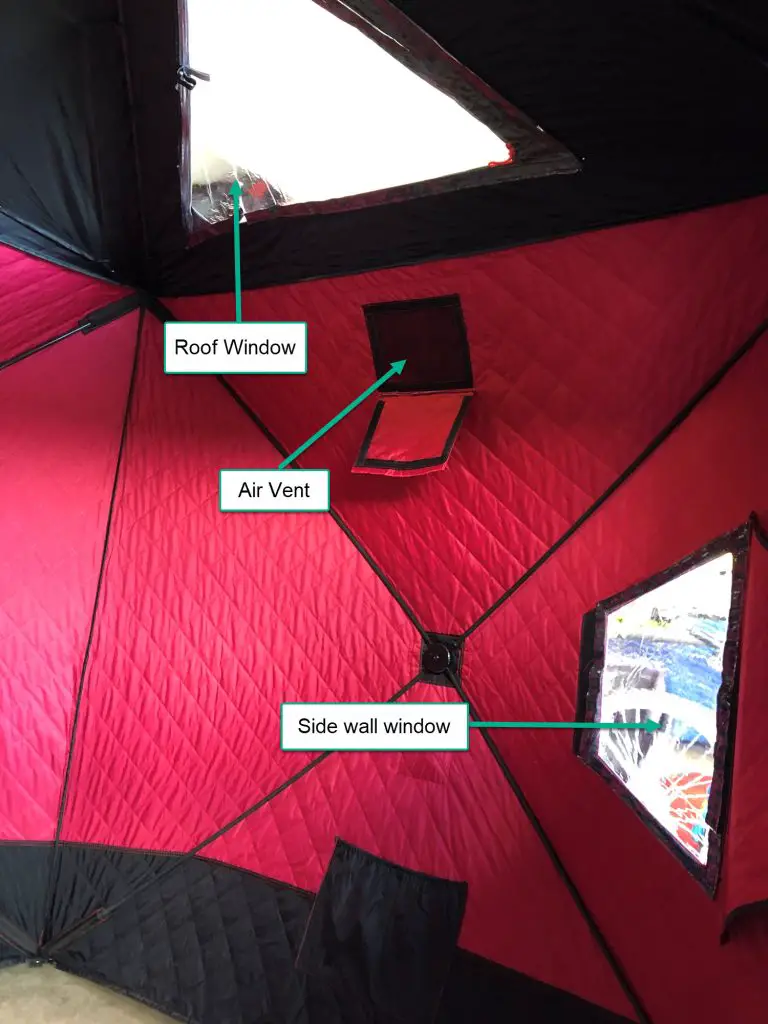
This last step is not really necessary but more to point out some of the features of an ice shelter. The Piscifun ice shelter has 4 wall windows (1 per wall) and 2 skylight windows on the roof. There is also 2 air vents which are designed to better circulate air but protect the inside from wind. There is also a circular vent on a bottom wall that allows you to run cords, propane lines or any other fuel lines in/out of the shelter.
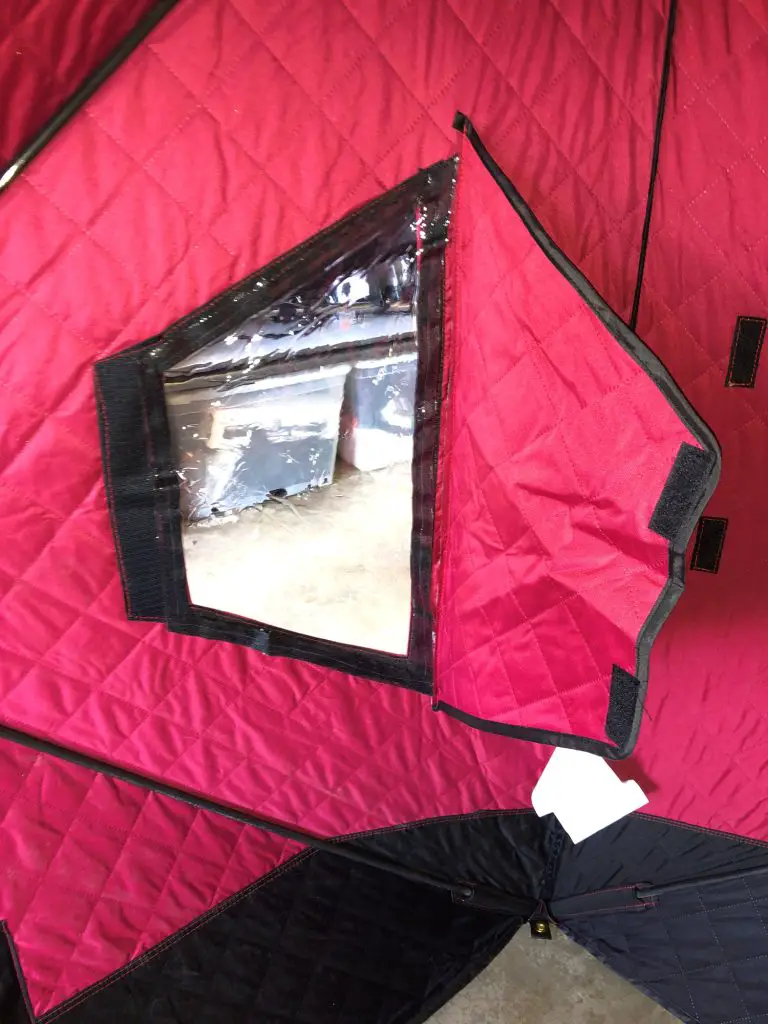
The roof windows can be opened from the outside of the tent or inside. There are strong zippers that hold these roof windows together. The wall windows can only be opened from inside and are done so by velcro. There are velcro attachments for both open and closed settings for the windows, so the windows are not flapping around on windy days.
Piscifun Ice Shelter Review
I’m noticing a lot more fishing manufacturers getting into the ice shelter market. I suppose ice fishing is growing! I’m a fan of this as this sort of attention to the sport will bring new innovations to ice fishing which I’m for. That said, there aren’t any new innovations on this ice shelter, but that doesn’t mean this isn’t a great option, here some notes on the shelter.
Price is right
I’ll start with cost… PIscifun is known for offering really good fishing products for great value. And that’s true for this shelter as it offers most of the components that the high level brand like an Eskimo offers but for a much lower price point. So if price is your largest driver, bang for your buck this a great option.
Insulated vs Non-Insulated Shelter
The shelter I own and have been reviewing is the insulated shelter. The big difference between these two types is of course the material. The insulated shelters are designed to keep more heat inside and keep more wind out. The non-insulated shelters are lighter weight, but that difference shouldn’t be a factor in your purchase as it’s minor.
For the life of me, I don’t know why there are non-insulated shelters. If your sitting on a frozen piece of water it’s flippin’ freezing out and having an insulated shelter makes sense to me. Who needs a flimsy wind breaker in the winter?! Seriously, I don’t get the non-insulated shelter, but that’s me. I guess I should end my rant by reminding you the reader that I’m using these in Canada.
Dimensions
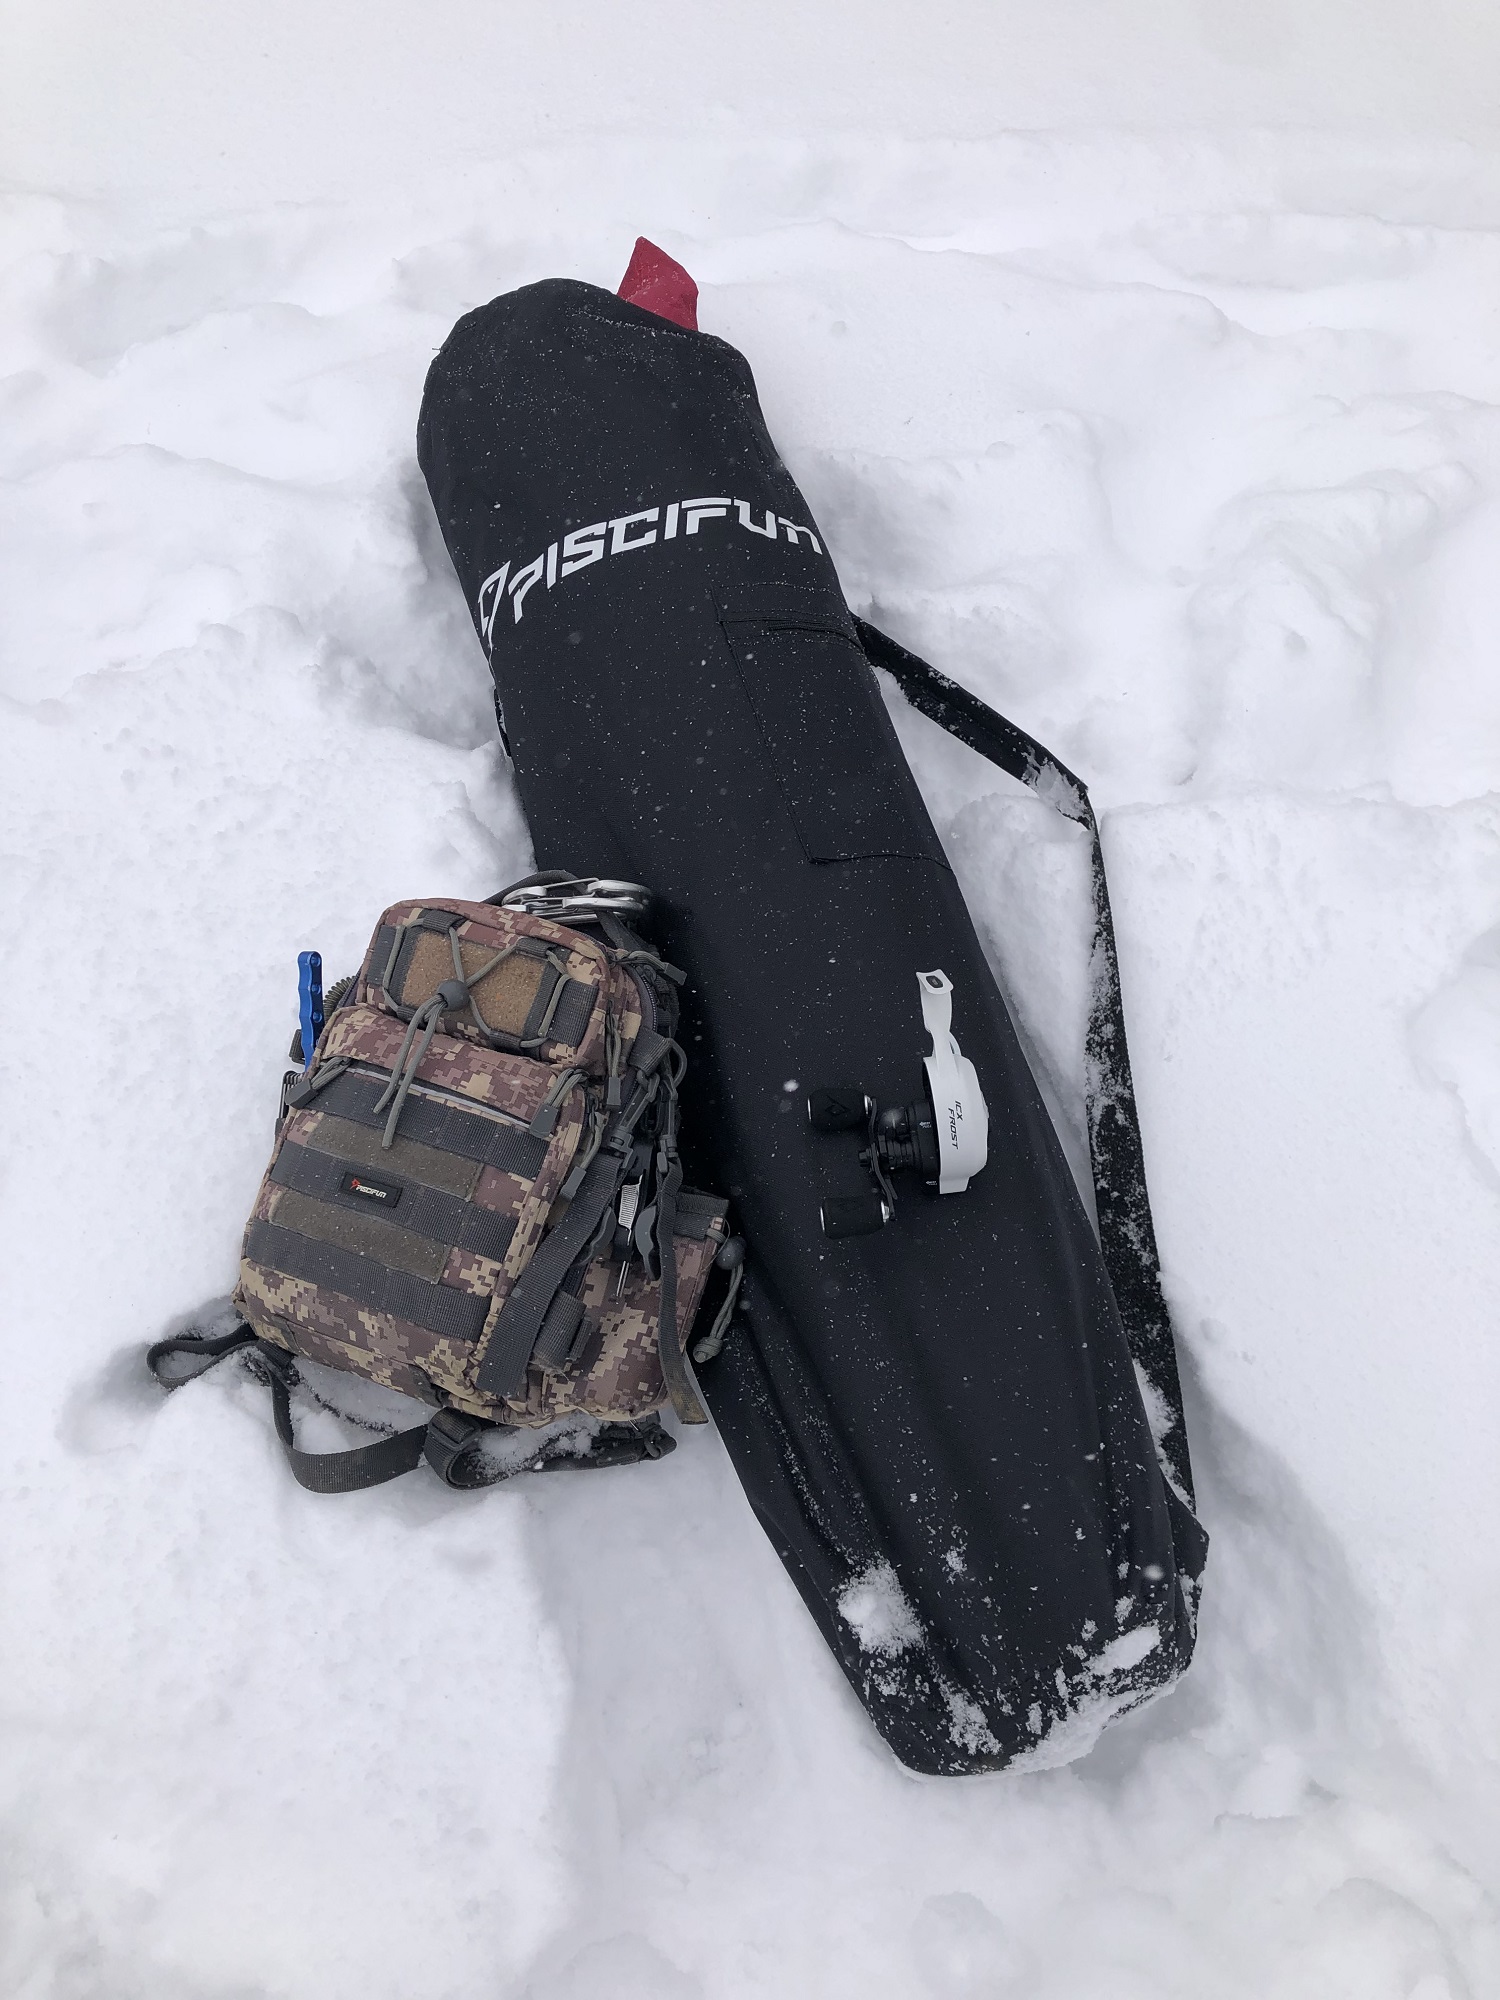
It’s got plenty of room with a height of 6.7 ft, the floor space is 5.9 ft x 5.9 ft. The bag that holds the shelter is 3.7 ft by 1 foot.
Sizes Options
There are a few size options in the 3-4 person and 2-3 person shelters. Piscifun has one wall that’s interchangeable with another shelter (by zipper). Meaning, it can connect 2 shelters together, which is pretty cool for that extra space!
Not a fan of
The carrying bag for the shelter was my biggest con. The material of the carry bag is pretty cheap and it’s not sized correctly in my opinion. Trying to get the shelter back into the carrying bag was a gong show, and ultimately I ended up ripping the top of the bag while forcing it in. I’ll be putting this in my ice duffle bag from here on in.
Piscifun Online
If you want to check out these ice shelters or any ice fishing products by Piscifun. Click the button and be sure to use my BC15 promo code for 15% off. Thanks for check out my page. Cheers! Jesse
